The Lab Dip Process
The Lab Dip Process
Color is often the first thing a consumer notices about a garment, so it is a key element of product development.
The lab dipping process is the first step in developing and approving the color of a product. Understanding how lab dips are created enables effective communication with suppliers when adjustments are necessary.
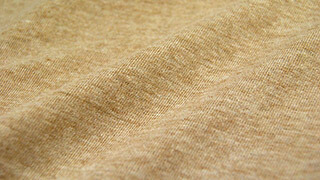
In this demonstration, a 100% cotton interlock substrate will be dyed using fiber reactive dyestuffs. The procedure and chemicals may vary when other fibers or dye types are used. The process begins with a request from the brand to the supplier for a lab dip in a specified color and substrate.
In best practices, the electronic and physical color standard is supplied by a third-party Color Standards Provider.
Step 1
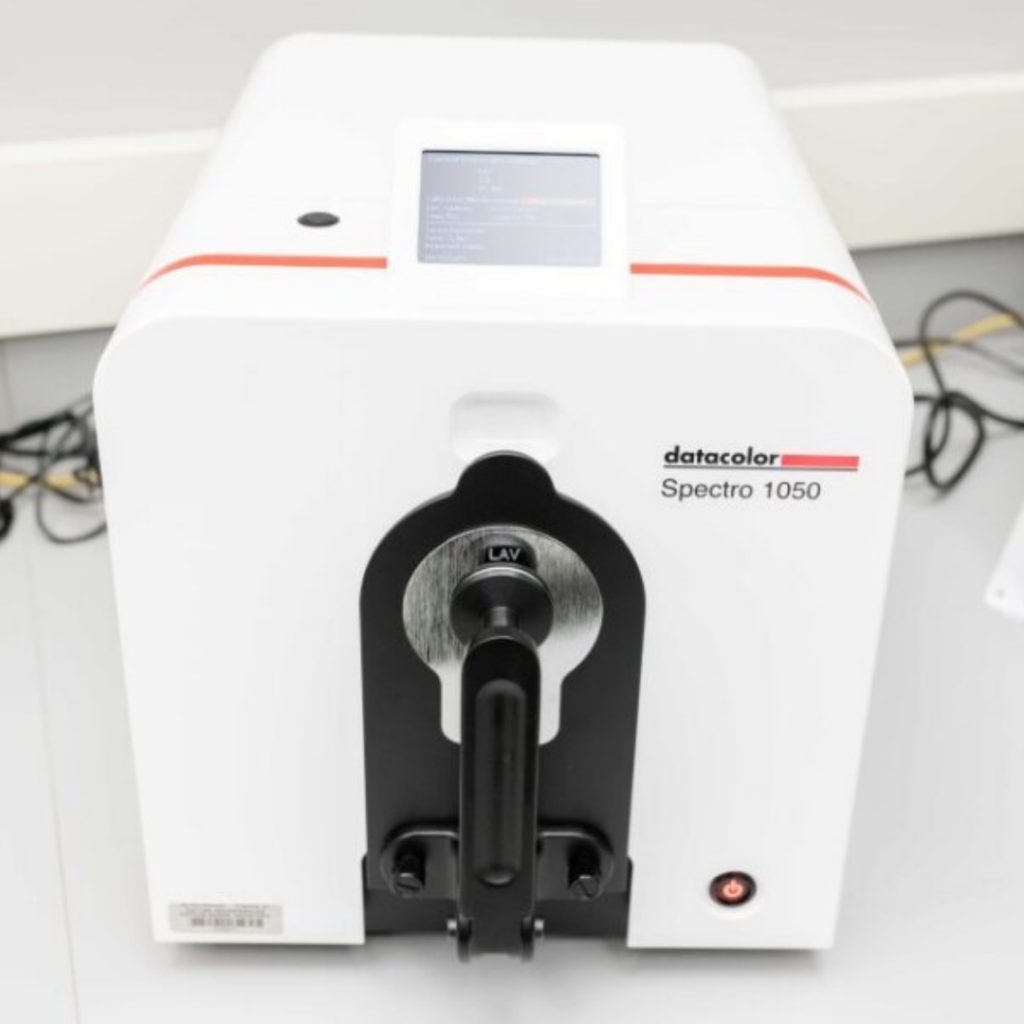
The dyer imports the electronic standard’s Master Spectral Data into the color formulation software. When a third-party standard is not provided, the physical standard is measured with a spectrophotometer.
Step 2
From the generated formulas, the dyer selects one influenced by factors like material, cost, and the required speed of production.
Step 3
A sample of the substrate, which has been prepared for dyeing, is cut to approximately 10 g.
Due to the miniscule amount of dyestuff used, they must be dissolved in solutions of water to allow for accurate measurement.
Step 4
The solution is pipetted manually or by automated lab equipment into the dye canister.
Step 5
Water is added to a pre-determined liquor ratio.
Step 6
Water is added to a pre-determined liquor ratio.
Step 7
Finally, the prepared 10g sample is added into the canister.
Step 8
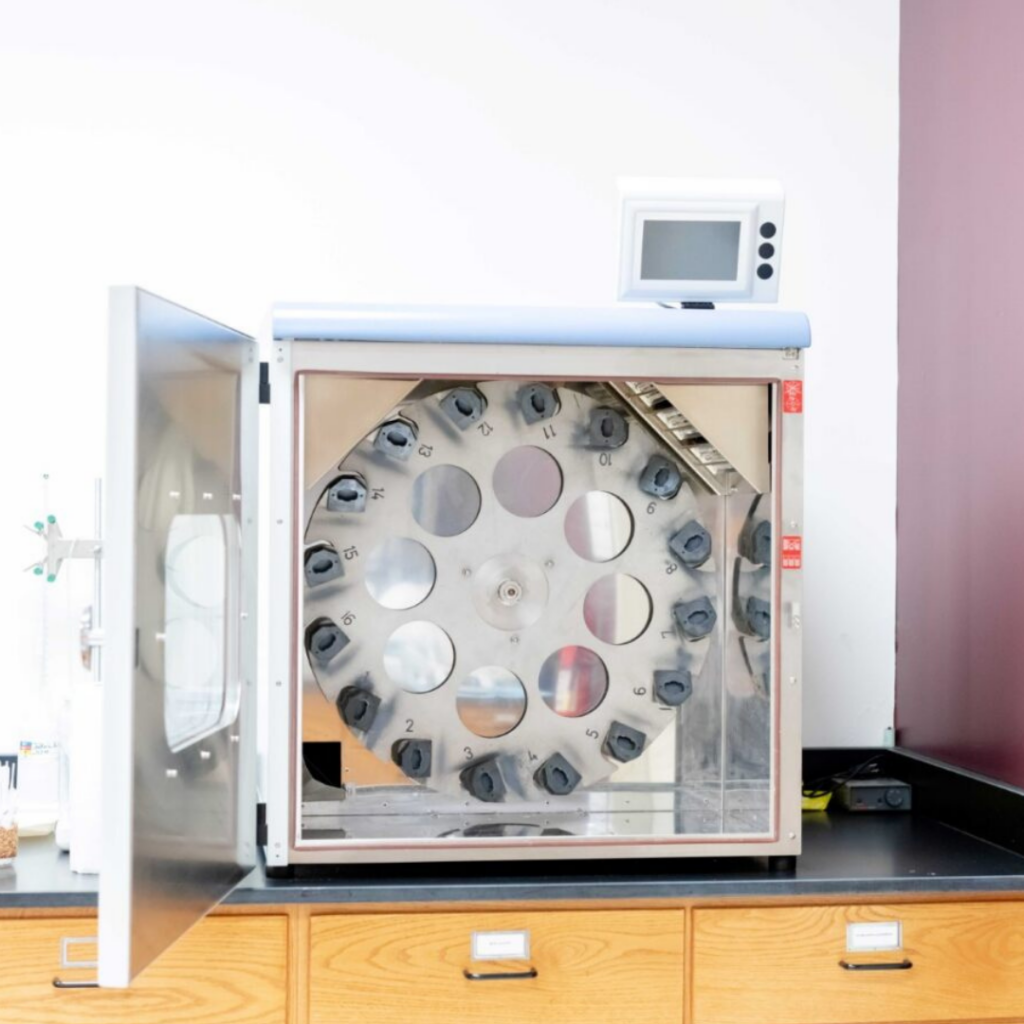
The canister is loaded into the sample dyeing machine alongside other samples being developed. The machine replicates the full-scale production dyeing procedure for the specific dyes being used, however some adjustments may be made during production when the formula is scaled up.
Step 9
As the correct dyeing temperature is reached, the machine beeps to notify the operator to manually add Sodium Carbonate or soda ash. The soda ash must be dosed over a period of time to ensure a level fixation of dyestuffs. Once the dye cycle is complete, the samples are “soaped off”, or washed, to remove excess chemistry and unfixed dye.
Step 10
Typically done in a sample rotary machine, surfactant is measured out and added to the bath along with multiple development samples. The water temperature is raised and the samples are washed for 10-15 minutes.
Steps 11 & 12
Finally, the samples are rinsed with cold water and dried in an oven
Steps 13 & 14
The samples are conditioned to standard humidity and temperature before being measured with the spectrophotometer.
The results are compared against the Master Spectral Data of the provided color standard.
Steps 15, 16, & 17
That data is considered against the brand’s requirements to determine if the lab dip is approvable. If necessary, adjustments will be made to the dye formula and the process repeated before sending to the customer for final approvals. The lab dip process often involves several iterations before the final sample is approved and the formula is sent to scale up for production. Streamlining this reduces cost, accelerates time to market, and simplifies product development.